Growing cannabis outdoors can offer a rewarding experience for growers, as it allows plants to develop under natural sunlight and often results in vigorous growth and large yields. Here’s a comprehensive guide on how to cultivate cannabis outdoors, complete with visual aids.
Step 1: Selecting a Location
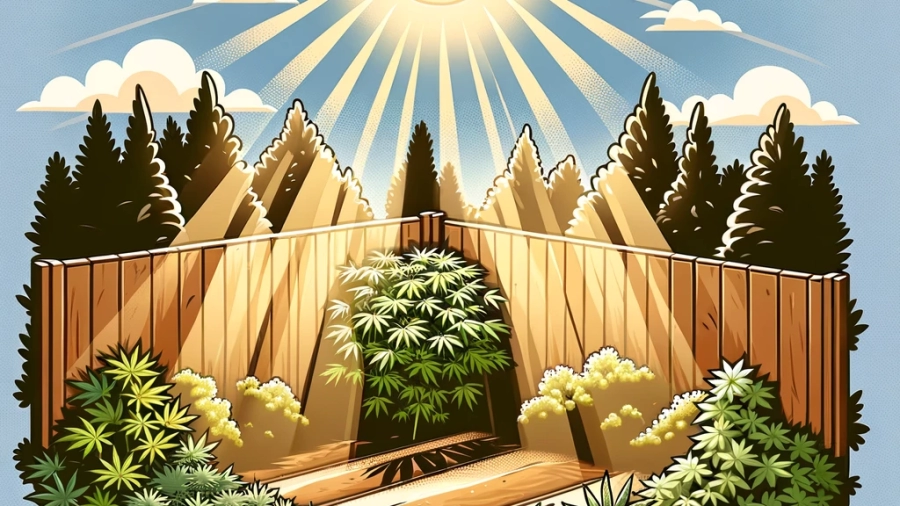
Choose a spot that receives ample sunlight, at least 6-8 hours per day. The location should also provide some protection from high winds and heavy rain, which can damage plants. Privacy and security are other important considerations.Step 2: Preparing the Soil
Cannabis thrives in rich, well-draining soil. Prepare your garden by tilling the soil and enriching it with compost, manure, and other organic matter. A balanced pH of around 6.5 is ideal for cannabis.Step 3: Choosing Your Strain
Select a cannabis strain that suits your climate. Some strains are better suited to colder temperatures, while others thrive in hotter climates. Auto-flowering strains can be a good choice for beginners as they require less maintenance.Step 4: Planting
You can start seeds indoors to protect young plants from the elements, or sow them directly into prepared soil when the risk of frost has passed. Space plants according to their expected size at maturity, typically 4-6 feet apart.Step 5: Watering and Nutrition
Outdoor cannabis plants generally require less frequent watering than their indoor counterparts, as the soil holds moisture longer. However, during hot and dry periods, regular watering becomes crucial. Feed plants with a high-nitrogen fertilizer during vegetative growth, switching to a high-phosphorus/potassium fertilizer when they start flowering.Step 6: Pest and Disease Management
Regularly inspect your plants for signs of pests and diseases. Natural remedies like neem oil can be effective for pest control. Ensure good air circulation around your plants to prevent fungal infections.Step 7: Training and Pruning
Training plants through techniques like topping and LST (Low Stress Training) can help increase yields by exposing more buds to sunlight. Pruning old and low-lying leaves will also help improve light exposure and air circulation.Step 8: Monitoring Plant Development
Watch your plants as they grow and enter different phases of life. Adjust care as necessary, especially as they transition from vegetative growth to flowering.Step 9: Harvesting
The right time to harvest depends on the strain and environmental factors. Generally, once most of the trichomes (the tiny crystals on the buds) have turned milky white or amber, it’s time to harvest. Cut the plants, trim away excess leaves, and hang them to dry in a cool, dark place with good ventilation.Visual Aids
Let’s enhance this guide with images for each step:- Location Selection: A sunny, secluded garden spot.
- Soil Preparation: Rich, well-aerated garden soil.
- Planting: Seeds or young plants in the ground.
- Watering and Nutrition: Feeding plants in an outdoor setting.
- Pest Management: Applying organic pest control.
- Training and Pruning: Techniques applied on a cannabis plant.
- Harvesting: The process of cutting and drying plants.
Add a Comment